Monday, February 15, 2016

Birthday Card using Cricut Print & Cut

Hey Cricutjunkies,
I wanted to share a card I made using the Cricut Explore Print & Cut Feature. I love this feature, it really allows you to create custom cards and sentiments. I downloaded Inspector Gadget from the Internet and imported it into my Explore as an SVG file. I also used the Add Text feature to create the sentiment. This is a great way to quickly create scene cards.
Die - MCT large stitched cloud bubble die
Paper - All from my stash
Grass -MS grass punch

I am entering this card in  CARDZ TV Designers Challenge #2 Birthday Card
and DLART February Link Party
Stop by and check out all the Great cards.
Hope you enjoy!!


Sunday, January 31, 2016

Graphic 45 Mother Goose Album

Hi Cricutjunkies,

I haven't posted a project on my Blog in awhile, but I have been busy crafting. Here is my first post for 2016.  It's an Album I made using Graphic 45 Mother Goose Paper and a recycled Bath & Body Works Box. For more details Click Here to watch my YouTube Video.                                           Hope you enjoy!!

I am also linking this to 4craftychicks Anyting but a card Stop by and check out all the AWESOME Projects.


Tuesday, October 27, 2015

Sympathy Card

Hey Cricutjunkies,

I'm entering this card in the Shopping Our Stash  Challenge. The Challenge is go Paperless, meaning no Pattern Paper. I used some random stamps and ink from my stash to create this really simple Sympathy Card. Stop by and join the challenge.
I used Stampin up paper, I am not sure what color it is that's how long I've had it. I also used Stamping up Edge Die.

On the Bird, I used Wink of Stella, Stampin up marker and a little water. It came out okay, but I still need some water color lessons. 


Wednesday, July 29, 2015

Shaker Birthday Card

Hi Cricutjunkies,
I have been seeing a lot of shaker cards on Blogs, Pintrest and YouTube and though it would be fun to make. The biggest challenge was using fun foam on the Cricut Explore for the first time. Although I changed the settings to foam and cut it out 3 times it didn't cut completely through. I may need to invest in a deep blade, but overall I think it came out okay.

Card Size 4.25 x 7 paper and bling is from my stash

Cartridge - 3 Birds on Parade
To create the shaker I used the Cricut Explore to write the sentiment (I love that feature) the cup cake is a sticker from Dollar Tree, and the sequin was part of my Simon Says Stamps monthly kit.


I included several elements on this card for challenges I am entering:
Fun-Tastic Tuesdays Make it Femimine
Shopping Our Stash Diamonds are a Girls Best Friend
Mojo Monday - Create a Tall and Skinny card from a sketch 


Don't forget to stop by the challenges.


Sunday, July 5, 2015

Craftroom Update

Hey Cricutjunkies,

I recently updated my craft room so I thought this was a great opportunity to join Show us your Craft room Blog Hop at Doubleclick - AKA Abusybee. They are introducing the new Skittles Design Team members and showing their craft space. Stop by and pick up some blog candy.

This is my updated Craft room. See June 9th blog post for the before pictures and video. My craft space is now very functional, organized and clutter free.

This is truly my Happy Place.

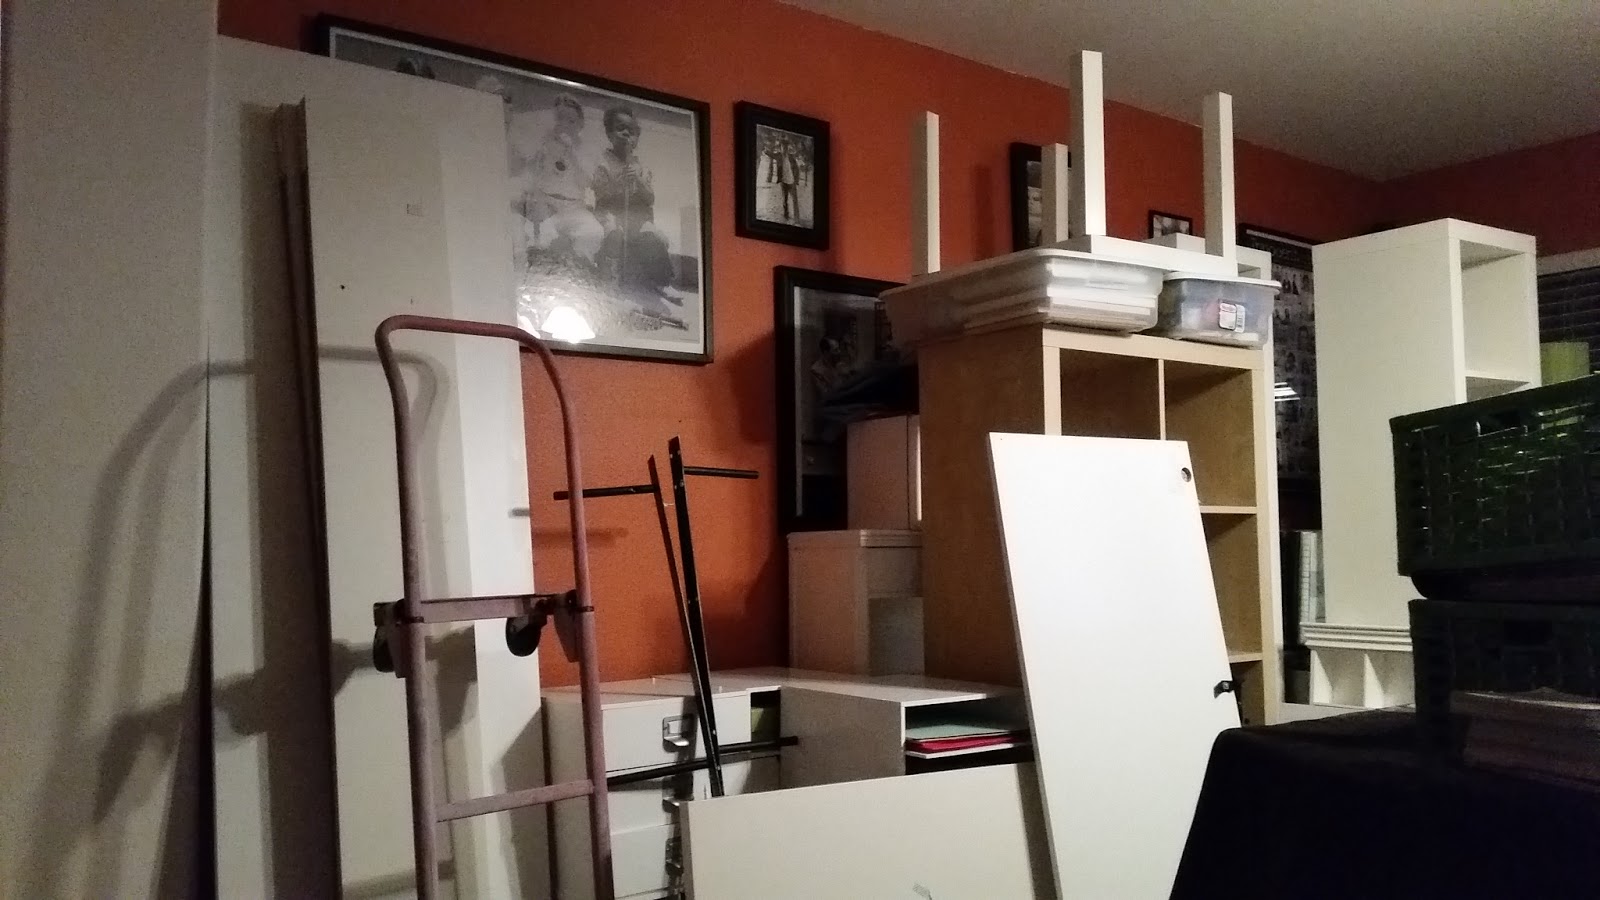
This is the view when you walk into my 120 sq ft Craft room.
New paint color and laminate flooring was the biggest change.
I re-purposed my furniture by trading with my daughter and using what I already had.
Most of my furniture is from IKEA with the exception of the cubes from Michael's. 

Computer and Explore station.
 Printer is no longer under my desk it has a home.
 

My Craft Desk
I stacked the two shelves that were standing up on the side of my Expedit. My husband attached them together in the back, added the table top and now I have 10 cubbies instead of 8 and the desk is 37" instead of  35" tall. He also drilled 2 holes for the cords and to make it fit flush against the wall. 


Closet 
 I removed the closet doors, put the Michael's cubes on rollers now I roll my paper cubes to my desk.  My embellishment center and shelf below has not changed much however I condensed my 6x6 and 8x8 paper pads down to one shelf and my cuttlebug folders down to one bin.
I find it easier to keep like items in bins or jars that way I can bring to my desk if needed. 

 I added a peg board to hang embellishments that are still in their package, now I can see what I have before buying new ones.
The polka dot bin is from IKEA but I bought it at Good will for $5.00 and added the polka dot paper for a little decoration. 

Ink pad storage is an old cassette holder that I bought for $2.00 at Good will. I spray painted it white and use it to hold Ink pads, ribbon and Misc items. It is very functional and I don't have to leave my desk to look for an ink pad. 

Desk Top Essentials
OTT lites, I lucked up and found them on clearance at Michael's for $25.00 and I used a 20% off clearance coupon. Heat gun holder is a paperclip holder from the dollar store it works great because it is magnetic and green. My other essentials are stamp scratch paper, various types of glue, frequently used pens and Most Important a PROJECT. 


My apologies for such a long post, hope you enjoy,

Friday, June 12, 2015

Simple and Quick Smile Card #250

Hey Cricutjunkies,

I am sharing a quick and simple card I made for the Polka Dot Challenge at 4craftychicks Challenge Blog.

I grabbed the first paper pad with Polka Dots, the Simon Says Stamps smile die which was sitting on my desk from the June 2015 monthly card kit, and started creating. I used white embossing powder on the the sentiment and clear on the Smile die, added a little ribbon and "Wah Lah"  I was done. Hope you stop 4craftychicks and join the challenge.

Paper Pad - MME Sunshine
Ribbon - My Stash
Sentiment - My Stash
Smile Die - Simon Says Stamps 


Other Fun Challenges  - Fun-Tastic Tuesday Anything Goes

Don't forget to stop by and join 


Tuesday, June 9, 2015

Craft Room Makeover - Part 1

Hi Cricutjunkies,

My crafting goal for 2015 was to have a more organized and functional craft room.  I was in such a crafting funk that my creativity was suffering so I decided it was time for a complete Makeover.
This is my Craft Room before the makeover Click Here  to see the YouTube video.

The first thing I did was create a list of needs vs wants, and based my budget around my needs. My budget was very tight so I knew I would have to use my existing furniture. A month before I started my makeover, I purged my room twice, getting rid of old scrap items that I no longer use or need. After I purged we moved everything into our game room (see below) then the fun began.
I was shocked to see how much furniture/stuff/mess we moved out of a 120 sq ft room. 
  I decided to re-purpose some this furniture.

Don't forget to watch for the reveal. 


Related Posts Plugin for WordPress, Blogger...http://cricutjunkiecreations.blogspot.com/